learn about all things surface pattern design including the creative design process, being a successful creative entrepreneur & stepping into the mindset of a successful designer
welcome to the pattern design blog
blog
The
Categories
Popular
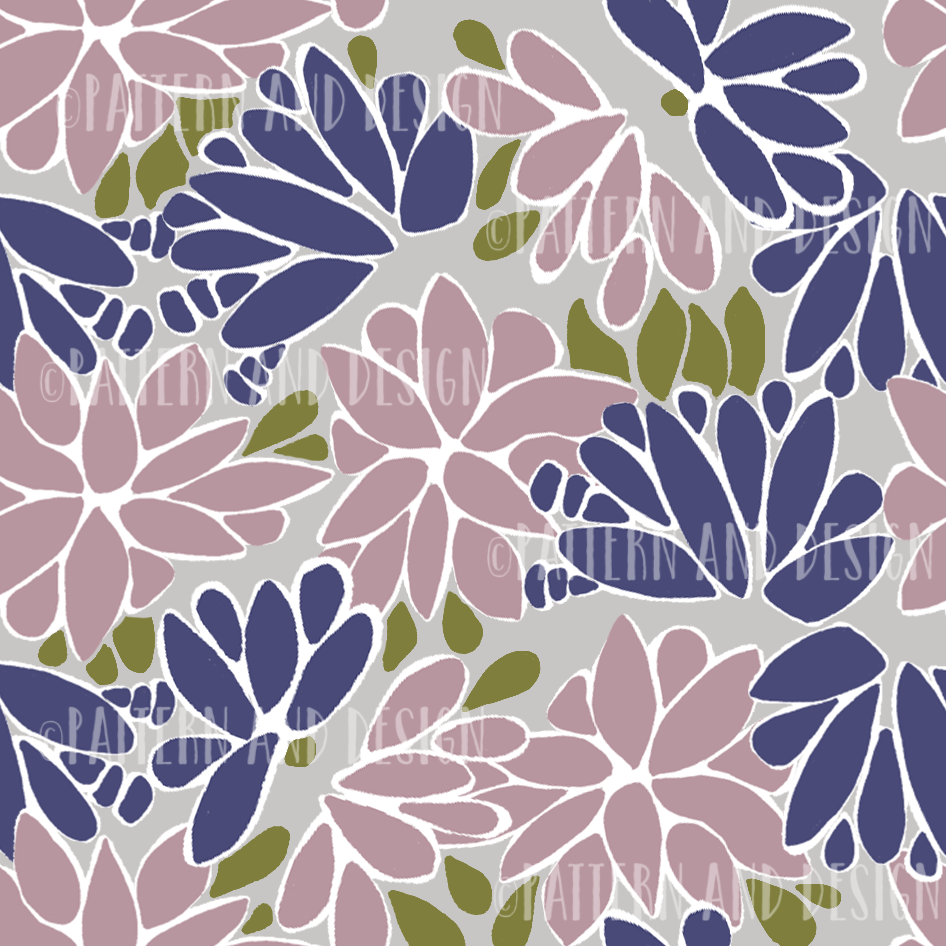
Quick Way to Watermark Your Pattern Designs in Photoshop
As a way of promoting your work, designers are now commonly sharing their work on the internet. This is a great way to promote yourself and your work however you can leave yourself open to copyright issues. In order to make it a little harder for someone to use your design without your permission, you can add a watermark to your work to deter them. Here’s a quick way to watermark your pattern designs in Photoshop.
Quick Way to Watermark Your Pattern Designs in Photoshop
Before you start, decide what your watermark will be. It can consist of whatever you like e.g. a symbol, logo or text but it’s a great idea to use your branding so people recognise it’s your work.
There are many different ways you can go about creating watermarks but here’s a simple way of adding a watermark to your work by creating a custom brush in Photoshop.
Step 1:
Open a new file in Photoshop. Make sure it’s large enough that it’s at the size or larger than you intend to use it.
Step 2:
Select the logo you want to use or select the type tool and type your text.
Tip: A quick way to create a copyright symbol is by selecting opt + g (MAC) or alt + 0169 (PC)

Step 3:
Crop your logo or text then select Edit > Define Brush Preset
Step 4:
Select the brush tool (B on your keyboard) then go to the brushes panel. Your watermark brush will appear as the last brush created in the brushes panel.
Select the watermark brush you created. In the example below, my brush is called Sampled Brush 1522 (you could choose to name your brush when you save it).
You can alter the size of the brush by moving the Size slider.

Step 5:
You can change the opacity of your watermark brush by going to the Control Panel and increasing or decreasing the flow. Increasing the flow will make your watermark more opaque and decreasing it will make it more transparent.
![]()
Step 6:
Stamp your work with your watermark.
You can either stamp your watermark in one corner or you can choose to stamp it all over your design.
Now you’ve created your watermark, next time you want to use it all you need to do is select it from the brushes panel.

Want to create another revenue stream by turning your art into surface pattern designs?
Get the free guide
Get my FREE Surface Pattern Design Starter Guide


